


Videos
DESCRIPTION
FEATURES & BENEFITS
- Easy Installation: Quick and hassle-free setup.
- Plug-and-Play: No complex wiring; just plug in and go.
- Maximum Output: Powerful Bi-Xenon projectors for superior visibility.
- Universal Compatibility: Fits various vehicle types, including dual filament bulbs.
- Comprehensive Guide: Accessible installation instructions for a smooth setup process.
WHAT’S INCLUDED
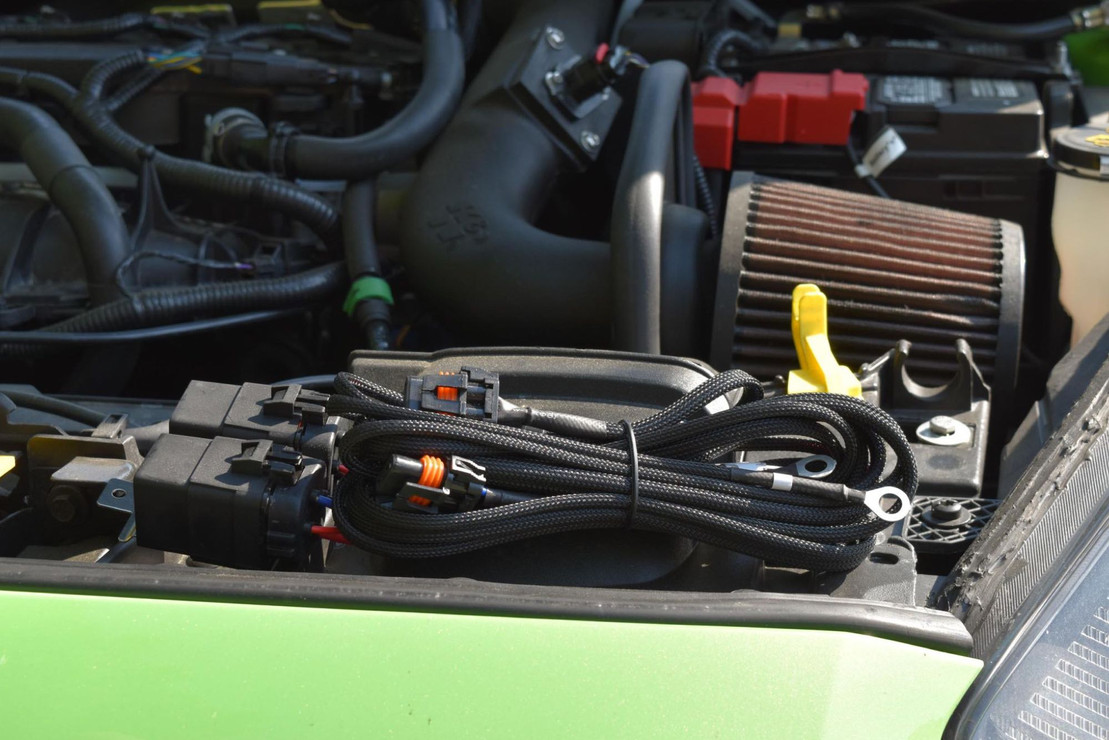
Harnesses : 2x HD Relay Harnesses
Low Beam Splitter : 1x Original Output to 9006/9006 Splitter
High Beam Splitters : 2x Original Output to 9006/9006 Splitters
NOTE : This kit controls four low beams and four high beams together
WARRANTY INFORMATION
This warranty is only valid if the item is purchased from an Authorized Dealer, Click HERE for a list of unauthorized dealers.
TECHNICAL SPECIFICATIONS
Input : Your Preference
Output : 8x 9006 Female (4x Ballasts,4x High Beams)
12V Power : 2x Nickel-Plated Ring Terminal
Fuse : 2x Inline 25A
COMPATIBILITY
STOCK BULB SIZE : H1, H7, H11, 9005, 9006 etc (varies)
HID SYSTEMS : Quad Bi-xenon Projectors (4x low / 4x high)
PWM PULSING SIGNAL? : Contact Us
CANBUS SYSTEM? : Contact Us
INSTALLATION DOCUMENTS
Maximum Output: Have two pairs of badass Bi-Xenon projectors installed in your headlights but not exactly sure where to start when it comes to wiring? Fear no more! We make it easy with the Quad Bi-xenon wiring kit. Problemo solved!
Plug-and-play: Despite being a pretty involved wiring setup, all of the connections here are plug and play, so no cutting or splicing required.
Simple: The HD low beam harness remains 9006 type since the output of the splitters needed are 9006. For the low beam splitter, match up the connection to your stock low beam bulb size. For the high beam splitters, match up the splitter to your stock high beam bulb size. It's that easy!
Universal: While this kit covers many options, if you're going from a stock dual filament bulb (H4 / 9003, 9007 / 9004, or H13 / 9008), you won't be able to use this kit. We'll have to configure one just for you, so please give us a call to do so!
Install Guide: At left under the pictures. The blue "get busy" button links up directly to this kit's wiring schematic.
